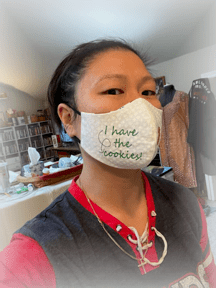
A friend of mine asked if I could make embroidered face masks for her Girl Scout Troop who’s getting ready to sell their cookies.
I LOVE doing custom projects like this! Let me walk you through how I did it…

- Find out the type of mask will be used. Is it a ready-made mask or will it assembled/sewn after the embroidery? What kind of fabric? What mask style? Answering these questions gave me an idea on the footprint available for the embroidery and helps in the design planning process. Embroidery can surely make masks beautiful… but I had to avoid making the designs dense designs can impact the breathability and wearer’s comfort.
2. Ask for an idea of the design. Is there a ready-made embroidery design that can be purchased? I tell my clients that it is usually better if we can find ready-made designs. These are usually less than $10 and is cheaper than digitizing from scratch. Etsy is a great place to find reasonably priced embroidery designs. Now, if they want a their logo embroidered, we will really need to digitize from scratch.
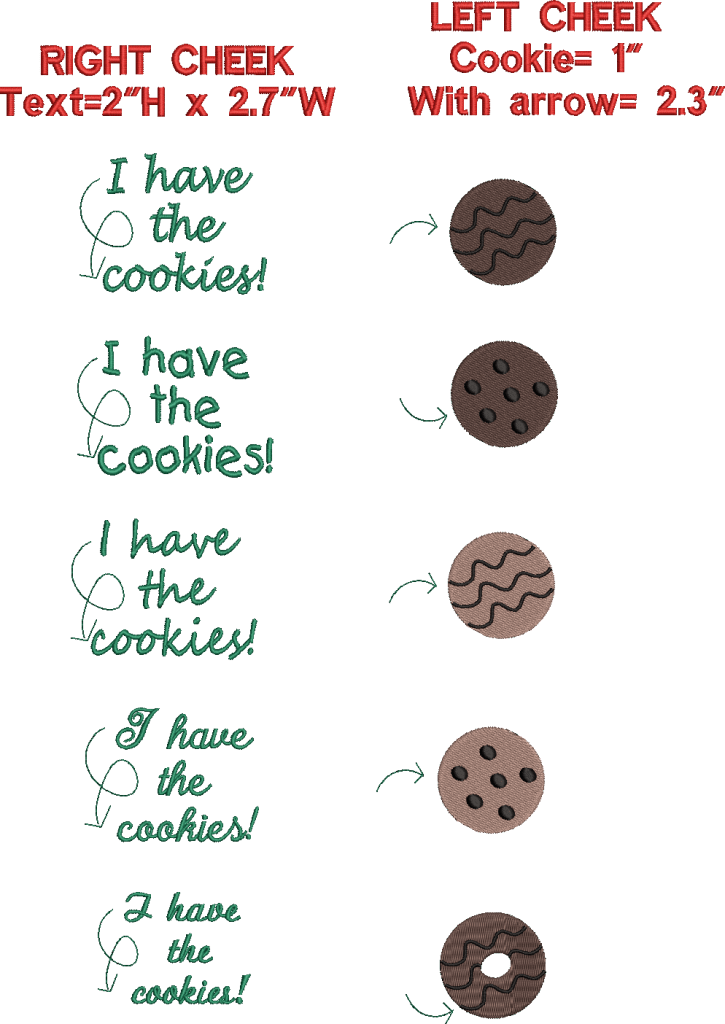
3. Digitize the design. Since I have hundreds of embroidery fonts and I enjoy digitizing, I decided to create her design from scratch. I used my embroidery digitizing software and came up with five (5) options for her. Five different fonts and five different cookies.
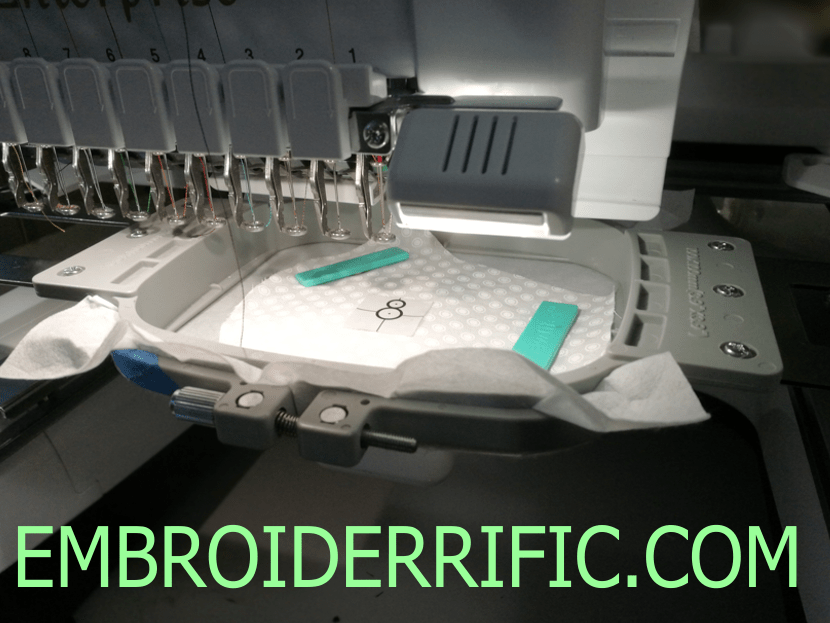
4. Hoop the fabric. Since the masks were already cut, I had to get creative in hooping them. I placed some tearaway stabilizer on my Hoop Master magnetic hoop. I could have used fabric glue or pins to hold them in place. But I avoid using pins when I can because somehow, I keep pricking my fingers! Instead, I used the Sew-Tites (magnet) that I bought from Sewing Expo last year.
5. Stitch the design. I embroidered at 800 stitches per minute. My multi-needle machine came very handy for this because I didn’t need to re-thread with every color change.
6. Clean-up and quality control. After stitching, I removed the excess stabilizer on the back using a pair of tweezers and cut any loose threads.
7. Press. I never underestimate the power of pressing. Using iron on medium/wool setting gives embroidery that professional look. I’ve found that wool mat is the best one to use because it absorbs any moisture.

I hope my friend’s troop wears these masks proudly. More importantly, I hope they sell a TON of cookies this year.

